Introduction
A beautifully wrapped gift can make an impression even before it's opened — and a well-tied ribbon bow is often the finishing touch that makes it memorable. Whether you're wrapping birthday presents, decorating wreaths, creating floral arrangements, or crafting seasonal décor, a polished bow elevates the presentation instantly.
While tying a bow seems simple, many people end up with lopsided loops, slipping knots, or twisted ribbon. The difference usually comes down to technique, ribbon choice, and a few key variables. With the right approach, you can consistently create bows that look neat and polished every time.
This guide covers the materials, technique, and common pitfalls — plus a few alternative bow styles worth trying once you've got the basics down.
Key Takeaways
- Wired ribbon holds its shape best, while satin and grosgrain work well for classic bows
- The classic bow starts with a center knot and two equal loops tied together
- Most bow problems trace back to uneven ribbon ends, wrong tension, or using ribbon that's too short
- Wider ribbon creates fuller bows, so match your ribbon width to the scale of your project
- You can adapt the same basic technique to create multiple bow styles
What You Need to Tie a Beautiful Ribbon Bow
The materials you start with directly determine the final look. A beautiful bow isn't just about technique — it's about using the right ribbon and having the right tools ready.
Ribbon Type and Length
The most common ribbon types suited for bow-making include:
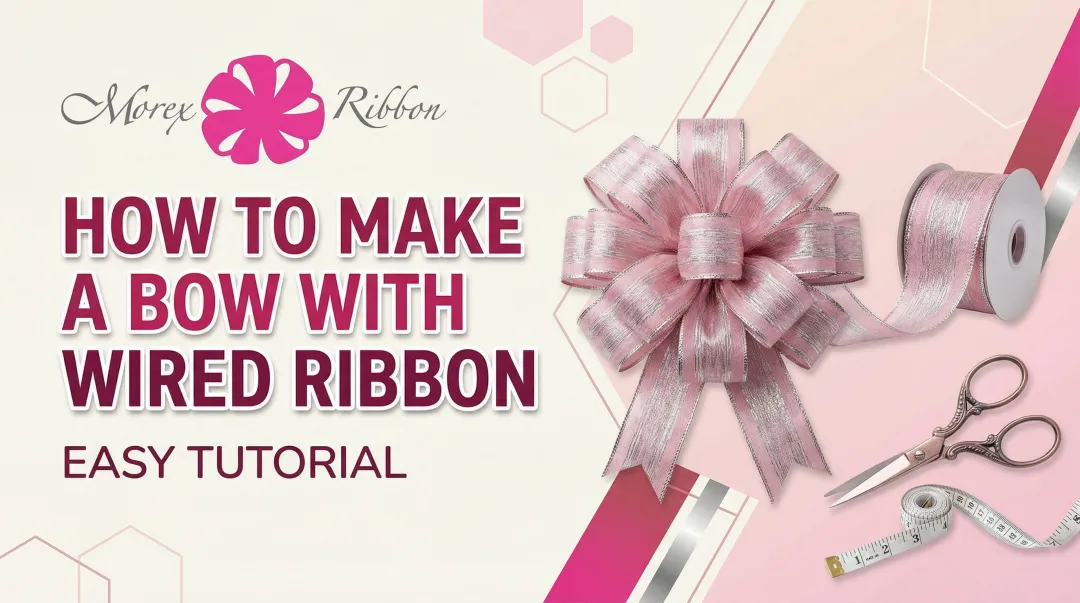
- Wired ribbon — holds shape well with metal wire woven into the edges, ideal for wreaths and decorative bows that need to maintain structure
- Grosgrain — textured, ribbed surface with natural stiffness, great for gift wrapping and hairbows
- Satin — smooth and elegant with a glossy finish, popular for formal gifts and bridal applications
- Sheer/Organza — lightweight and translucent, creates layered, ethereal looks
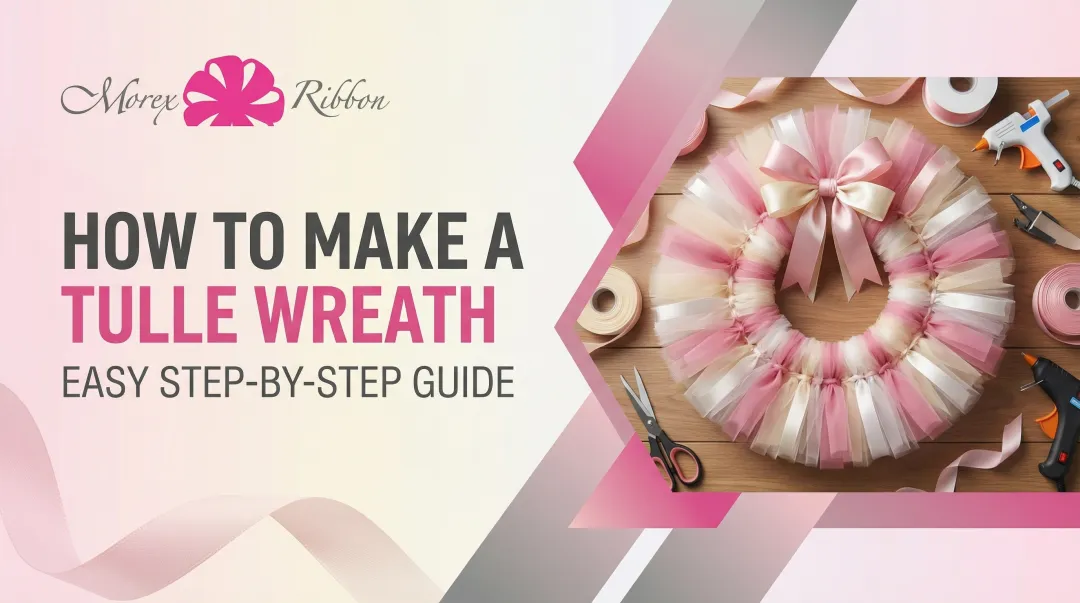
Wired ribbon is strongly recommended for wreath making because it creates fuller bows and lasts longer on finished wreaths. Morex Ribbon carries all four types across 18 widths, so you can match ribbon to project without compromising on proportion or finish.
General ribbon length guidelines:
- Standard gift bow: 24–36 inches minimum
- Fuller, multi-loop bow: 2–3 yards
- Large wreath bow: 2–3 yards or more
Wider ribbon requires more length to form proportionate loops, so always cut more than you think you'll need.
Tools and Extras
Supporting tools make the process smoother:
- Sharp fabric scissors — for clean diagonal cuts that prevent fraying
- Florist wire or twist ties — to cinch looped bows securely
- Hot glue or clear-drying craft glue — to secure bows to packages without showing
- Pipe cleaners — work as internal structure for decorative bows
How to Tie a Classic Ribbon Bow: Step-by-Step
This method covers the most versatile, foundational bow that works for gift wrapping, craft projects, and basic décor — no special tools required.
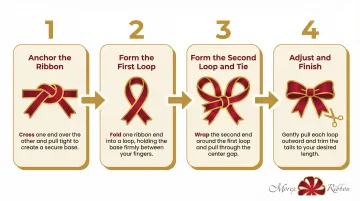
Step 1: Anchor the Ribbon
Position the ribbon by either wrapping it around a gift box (pulling ends up to the top center) or laying it flat on a surface. Tie a center knot, leaving equal lengths on both sides — even tails are what keep the finished bow symmetrical.
Make the initial overhand knot snug but not so tight that it distorts the ribbon. That keeps the center clean without adding bulk.
Step 2: Form the First Loop
Use the left ribbon tail to create a "C"-shaped loop, pinching it firmly between the left thumb and forefinger close to the center knot. The size of this first loop determines the overall bow size — aim for a loop roughly the width of your hand for a standard bow.
Tip: Make sure the ribbon lies flat (not twisted) inside the loop for a clean, professional finish.
Step 3: Form the Second Loop and Tie
Create a matching "C"-shaped loop with the right ribbon tail, then bring it around and through the center (similar to tying a shoelace) to lock both loops together. Pull gently but firmly until the knot tightens at the center.
Both loops should match in size. If they don't, loosen the knot slightly, reposition, then tighten again.
Step 4: Adjust and Finish
Pull both loops to tighten the center knot, then trim the trailing ribbon tails to matching lengths. A diagonal or V-shaped cut gives the tails a clean, finished look.
Optional finishing touches:
- A dot of hot glue under the knot to secure the bow to a package
- Fluffing loops slightly outward for more volume
- Adding embellishments like small ornaments, pom poms, or a second accent ribbon at the center
Key Variables That Affect How Your Bow Looks
Two people can follow the same steps and get very different results because the quality and appearance of a ribbon bow depends on several controllable variables.
Ribbon Width
Wider ribbon creates fuller, more dramatic bows, while narrower ribbon produces delicate, refined bows. For standard gift wrapping, 3/8″ to 1″ widths work best, while 1.5″ to 2.5″ ribbon is ideal for wreaths and large decorative pieces.
Loop size is proportional to ribbon width — too narrow for a large bow and loops look skimpy; too wide for a small bow and they become unmanageable. Matching width to project scale is one of the simplest ways to improve your results.
Ribbon Type and Stiffness
The stiffness spectrum ranges from highly structured to soft and drapey:
- Wired ribbon — holds any shape you give it, ideal for decorative bows that need to stay structured
- Grosgrain — has natural body that keeps loops open
- Satin and sheer — softer and may need more loops or a wire cinch to maintain shape
If your bow is drooping, the fix is usually simple: add more loops, switch to wired ribbon, or run a length of thin wire through the center before tying.
Ribbon Length
Running short on ribbon is the most common reason bows look flat or skimpy. Loops end up too small, and there's not enough tail left for a balanced finish.
Always cut more ribbon than you think you need, then trim excess after forming the bow.
Tension and Loop Symmetry
Uneven tension when pulling the loops causes one side to be larger than the other — easy to miss until the bow is nearly finished. Check symmetry before fully tightening the knot, and adjust by pulling gently on the smaller loop.
Common Mistakes to Avoid When Tying a Ribbon Bow
Most "bad bows" share the same few root causes. Knowing them in advance saves frustration.
- Start with equal tails: If both sides aren't the same length before forming loops, one will always run short. Measure and center the ribbon at the knot before doing anything else.
- Keep the center knot loose until both loops are formed: Pulling it tight too early locks in uneven sizing. Adjust the loops first, then snug the knot.
- Use more ribbon than you think: Short or narrow ribbon produces flat, skimpy bows. Always err on the generous side, and match ribbon width to your intended display size.
- Watch for ribbon twist: One-sided ribbons — printed, textured, or wired — can flip mid-loop and expose the wrong face. Keep the ribbon face consistently upright throughout. Exposing the dull side mid-bow is the most common reason a finished bow looks unpolished.
Other Bow Styles to Try
Once you've mastered the classic bow, a few popular variations are worth adding to your repertoire. Each style suits different occasions and ribbon types.
Looped Fan Bow
Use the accordion-loop method: fold the ribbon into multiple "S"-shaped loops, cinch the center with florist wire, and fan the loops outward. This style works especially well for:
- Gift toppers
- Wreath accents
- Party décor
Best used with wired or grosgrain ribbon for structure.
Puffy/Multi-Loop Bow
This style creates a full, dramatic bow with layered volume. Steps:
- Wrap ribbon around your hand 8–12 times
- Slide the loops off and notch the center
- Tie with a second piece of ribbon or wire
- Separate and fluff each layer outward
Best for large gift toppers or Christmas tree bows — more wraps means a fuller result.

Wired Decorative Bow
Fold both ends of wired ribbon in to form an "X" at the center, pinch, and secure with a pipe cleaner or short ribbon piece. Wired ribbon holds its shape naturally, so the technique is forgiving. Use it for:
- Wreaths
- Tree toppers
- Mantel décor
Frequently Asked Questions
How much ribbon do I need to make a bow?
Approximately 24–36 inches for a simple gift bow, and 2–3 yards for a fuller multi-loop bow. Wider ribbon and larger loops require more length, so always cut generously.
What type of ribbon works best for making bows?
The right ribbon depends on the look you want:
- Wired ribbon holds its shape best for decorative and floral bows
- Grosgrain provides natural stiffness for clean, structured loops
- Satin delivers a smooth, elegant finish for formal occasions
How do I keep my ribbon bow from coming undone?
Use a double-knot technique when tying the center. For extra hold, add a small dot of hot glue or clear-drying craft glue under the center knot to secure it on packages or crafts.
Can I tie a neat bow using one-sided ribbon?
Yes, but it requires extra attention. Keep the face side consistently upright during loop formation, and check each loop before tightening to prevent unwanted twists.
How do I make a ribbon bow look fuller and fluffier?
Use a longer ribbon length, add more loops, and gently pull each loop outward after tying. The multi-loop method with 10+ wraps produces the fullest, most voluminous result.
What is the easiest bow style for beginners?
The classic two-loop bow (shoelace method) is the simplest starting point. It requires no special tools, works with any ribbon type, and can be mastered with just a few practice runs.